Have you ever found yourself frustrated with your saltwater pool? Maybe you’re tired of the maintenance or the occasional equipment issues that come with it. If you’re considering a switch to a chlorine system, you’re not alone. Many pool owners face this dilemma and want a simpler, more straightforward solution.
Table of Contents
Key Takeaways
- Understanding Salt Water Pools: They use a salt chlorine generator to convert salt into chlorine, providing lower chlorine levels and softer water but requiring regular maintenance and investment.
- Chlorine System Advantages: Switching to a chlorine pool can reduce initial costs, simplify maintenance routines, and eliminate the complexity associated with saltwater systems.
- Conversion Process: The conversion involves draining the pool, filling it with fresh water, and properly adding chlorine. Testing and balancing water chemistry is crucial post-conversion.
- Post-Conversion Maintenance: Essential tasks include regularly skimming debris, vacuuming the pool, cleaning filters, and monitoring chlorine levels to ensure optimal swimming conditions.
- Cost Savings: By choosing a chlorine system, you can avoid significant expenses related to salt cell replacements and enjoy potentially lower ongoing chemical costs.
Overview Of Salt Water Pools
Salt water pools use a salt chlorine generator to convert salt into chlorine, providing a gentler swimming experience. You add salt to the water, which the generator transforms through electrolysis. This process creates chlorine, which sanitizes the pool.
Advantages of Salt Water Pools
- Lower Chlorine Levels: Salt water pools maintain lower chlorine levels, resulting in less eye and skin irritation.
- Softer Water: Salt water feels softer, enhancing comfort for swimmers.
- Reduced Chemical Costs: Salt is typically cheaper than traditional chlorine, leading to lower long-term maintenance costs.
Disadvantages of Salt Water Pools
- Higher Initial Costs: Installing a salt chlorine generator involves a significant upfront investment.
- Equipment Corrosion: Salt can corrode metal and damage pool equipment over time, necessitating careful maintenance.
- Complicated Repairs: Troubleshooting issues with salt systems can be more complex than with traditional chlorine setups.
Maintenance of Salt Water Pools
Regular maintenance remains crucial in salt water pools. You must:
- Check salt levels regularly, keeping them between 2700-3400 ppm.
- Clean the generator cell periodically to ensure optimal performance.
- Monitor pH and alkalinity levels, adjusting them as necessary.
Salt water pools offer many benefits but come with specific maintenance requirements. If you’re experiencing frustrations with your salt water pool, switching to a chlorine system might provide a simpler solution.
Reasons To Convert To Chlorine
Converting to a chlorine system offers several benefits that may enhance your pool experience. Understanding these reasons can help you make an informed decision about the switch.
Recommended Products

CRYSTAL CLEAR WATER MADE EASY: This box of ARM & HAMMER Clear Balance contains 24 tablets; your pool’s summer bestie for maintaining ideal alkalinity and pH levels, the easy way
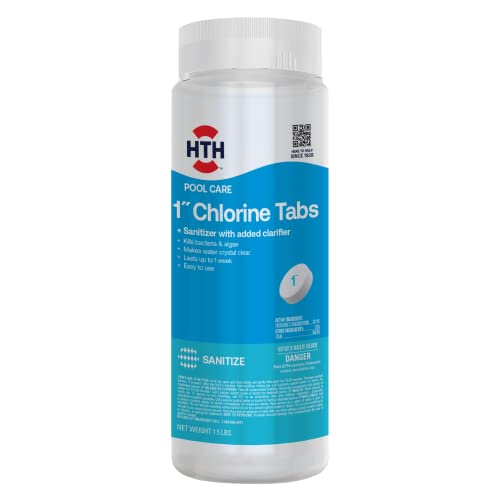
BENEFIT: Protect your swimming pool and enjoy clean, clear water with these easy-to-use chlorine-based tabs; Kills algae and bacteria

Cleans Water & Stops Algae: Kills harmful bacteria and prevents equipment corrosion, scale and stains. Kills and prevents all types of swimming pool algae (green, mustard, black)
Cost Considerations
Chlorine systems often have lower initial costs compared to saltwater setups. For instance, purchasing chlorine tablets is generally less expensive than the upfront investment in a saltwater generator. Ongoing chlorine costs can also be lower, especially if you buy in bulk. Additionally, you won’t face expenses due to salt cell replacements, which can cost between $500 and $900 every 3 to 5 years.
Maintenance Needs
Chlorine pools require simpler maintenance routines. Regularly adding chlorine tablets is straightforward, and testing chemical levels is easy with basic kits. You’ll mainly monitor pH and alkalinity levels, which ensures balanced water. Unlike saltwater systems, you won’t need to clean salt cells or regularly check salt levels. This streamlined maintenance can save time and reduce the risk of potential complications.
Step-By-Step Guide To Conversion
Converting a saltwater pool to a chlorine system involves several straightforward steps. Follow this guide to ensure a smooth transition.
Recommended Products
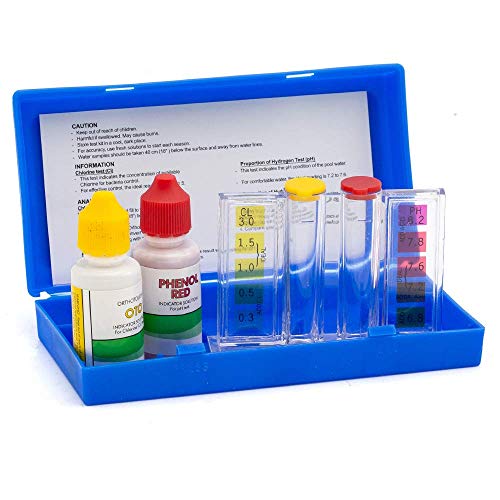
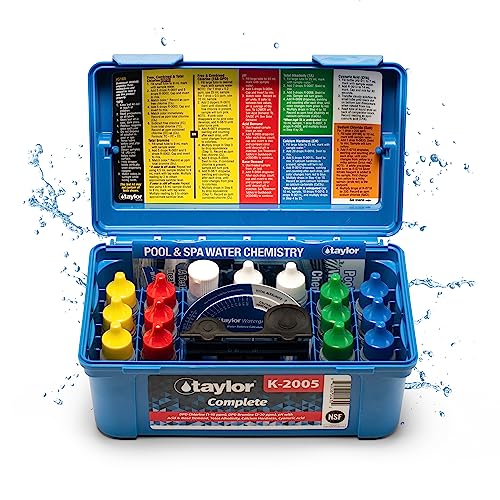
2 Way Pool Water Test Kit For Test For OTO, CL, and PH Level

Fresh, Accurate Pool Test Strips - AquaChek Yellow Chlorine 4-in-1 includes 50 precision test strips—perfect for a full season of reliable water testing for pools and spas that use chlorine. No expired extras, no bulky packs—just fresh, accurate results from AquaChek, the most trusted brand in pool and spa water testing.
Gather Necessary Supplies
- Chlorine granules or tablets: Choose a suitable chlorine type for your pool size.
- Water testing kit: Use this to monitor water chemistry before and after conversion.
- Submersible pump: This helps in draining the pool efficiently.
- Hoses: Have flexible hoses ready for draining and filling.
- New filter system: Depending on your current setup, you may need an appropriate filter for chlorine use.
Drain The Pool
- Use the submersible pump: Place the pump at the deepest point of the pool.
- Connect hoses: Direct the pump’s hose away from the pool to a safe drainage area.
- Monitor the draining process: Ensure it drains completely to avoid residual saltwater.
Add Chlorine
- Fill the pool with water: Refill your pool with fresh water.
- Dissolve chlorine granules: If using granules, dissolve them first in a bucket before adding.
- Disperse the chlorine: Add the dissolved chlorine or tablets to the pool. Distribute it evenly for effective sanitization.
- Test the water: Use a testing kit to measure pH, alkalinity, and chlorine levels.
- Adjust pH levels: Aim for a pH between 7.4 and 7.6 using pH increaser or decreaser.
- Balance alkali levels: Adjust total alkalinity to a range of 80-120 ppm using appropriate chemicals.
- Maintain chlorine levels: Target a chlorine level of 1-3 ppm for optimal sanitation.
By following these steps, you’ll convert your saltwater pool to a reliable chlorine system efficiently, ensuring your pool remains safe and enjoyable.
Post-Conversion Tips
Post-conversion, maintaining your pool’s water quality ensures a pleasant swimming experience. Follow these tips for the best results.
Recommended Products

AFFORDABLE 7-IN-1 POOL TESTING KIT: Our 100 pool test strips provides an affordable, all in one pool water testing kit for various chemicals including Free Chlorine, Alkalinity, pH levels and more!

HIGH ACCURACY POOL TEST STRIPS:Utilizing advanced technology from the medical industry, these hot tub test strips provide comparable accuracy to liquid tests. Our commitment to quality extends to the materials we use, including high-quality fiber paper and non-bleeding pad technology. This innovation minimizes color interference between adjacent blocks, ensuring accurate results every time. Trust our test strips for reliable readings, allowing you to maintain optimal water chemistry for a safe and enjoyable swim experience.

AFFORDABLE 7-IN-1 POOL TESTING KIT: Our 150 pool test strips provides an affordable, all in one pool water testing kit for various chemicals including Free Chlorine, Alkalinity, pH levels and more!
Regular Maintenance
Regular maintenance is essential for a chlorine pool. Plan weekly tasks to keep your pool clean and safe.
- Skim Debris: Use a skimmer net to remove leaves and debris from the water surface each week.
- Brush Walls and Steps: Brush the pool’s walls and steps weekly to prevent algae buildup.
- Vacuum the Pool: Vacuum the bottom of the pool weekly, especially in areas where debris tends to settle.
- Clean Filters: Rinse or clean your filters regularly to ensure proper water circulation.
- Shock the Pool: Shock your pool every 1-2 weeks, or after heavy usage, to eliminate contaminants.
Monitoring Chlorine Levels
Monitoring chlorine levels helps you maintain optimal water sanitation. Here’s how to do it effectively:
- Test Water Regularly: Use test strips or a liquid test kit to check chlorine levels at least twice a week.
- Target Chlorine Levels: Aim for a free chlorine level between 1.0 to 3.0 ppm for safe swimming.
- Adjust Chlorine as Needed: If levels drop below 1.0 ppm, add chlorine according to product instructions.
- Balance Other Chemicals: Regularly check and balance pH, alkalinity, and calcium hardness for overall water quality.
- Keep Records: Maintain a log of your test results to track any fluctuations over time.
Following these tips ensures your chlorine pool remains clean, safe, and enjoyable throughout the swim season.
Conclusion
Switching from a saltwater pool to a chlorine system can feel overwhelming but it doesn’t have to be. By following the steps outlined and staying on top of your maintenance routine you’ll enjoy a clean and safe swimming environment.
Remember to keep an eye on your chlorine levels and test your water regularly to ensure everything stays balanced. With a little effort and care your pool can be a refreshing oasis where you and your family can make lasting memories. Dive in and enjoy your new chlorine pool experience!
Frequently Asked Questions
What are the main challenges of owning a saltwater pool?
Saltwater pool owners often face issues like equipment corrosion, higher initial costs, and the complexity of maintaining proper salt and pH levels. These challenges can lead to frustration and may prompt consideration of switching to a traditional chlorine system.
What are the pros and cons of saltwater pools?
Pros of saltwater pools include lower chlorine levels and a softer feel to the water. However, they can have higher upfront costs and maintenance expenses, as well as equipment corrosion, which can sometimes outweigh the benefits.
How do I convert my saltwater pool to a chlorine system?
To convert, first gather the necessary supplies, then drain the pool. Next, add chlorine, test the water, and adjust the chemistry. Following these steps ensures a smooth transition and optimal swimming conditions for your new chlorine pool.
What maintenance tips should I follow after converting to a chlorine pool?
Post-conversion, regularly skim debris, brush pool walls, vacuum, and clean filters. Monitor chlorine levels, test water chemistry frequently, and adjust as needed to maintain a safe and enjoyable swimming environment.
How often should I test my chlorine levels?
You should test chlorine levels at least once a week to ensure safe and clean water. Regular testing helps you maintain optimal water sanitation and adjust chemicals as needed for a healthy swimming experience.