Have you ever thought about how much easier pool maintenance could be? Switching to a saltwater system can transform your swimming experience. With less chlorine and softer water, your skin and eyes will thank you.
Table of Contents
Key Takeaways
- Simplified Maintenance: Saltwater pools reduce the need for chemical treatments, making maintenance easier and more cost-effective over time.
- Health Benefits: Lower chlorine levels in saltwater pools minimize skin dryness and eye irritation, making swimming a more comfortable experience, especially for allergy sufferers.
- Initial Setup Requirements: Essential tools and materials for converting to a saltwater system include a salt chlorinator, pool-grade salt, and installation tools like a screwdriver set and PVC pipe cutter.
- Step-by-Step Installation: Follow a structured process for installation—prepare your pool, install the chlorinator, and monitor salinity and pH levels for optimal water quality.
- Regular Maintenance: Consistent monitoring of salinity and water chemistry is crucial to prevent issues like corrosion and ensure a pleasant swimming environment.
- Seasonal Adjustments: Adapt maintenance practices seasonally to sustain water balance and cleanliness, paying attention to changes in swimmer activity and temperature.
Benefits Of Salt Water Pools
Switching to a saltwater pool system offers numerous advantages. Not only does it make maintenance simpler, but it also contributes to a more pleasant swimming experience.
Health Advantages
Saltwater pools contain lower levels of chlorine compared to traditional pools. This reduction minimizes eye irritation and skin dryness. Saltwater’s gentle nature also helps people with allergies or sensitivities enjoy swimming without discomfort. Additionally, the mild salinity can promote skin hydration, providing a soothing effect while you swim.
Cost Efficiency
Investing in a saltwater pool can lead to long-term savings. While the initial setup might be higher due to equipment like a salt chlorine generator, operating costs drop significantly. You’ll spend less on chemicals since saltwater pools generate their own chlorine. Furthermore, with improved water balance and fewer chemical treatments, maintenance costs reduce, allowing you to save money over time.
Required Materials
To convert your swimming pool to a saltwater system, gather a few essential materials. These items will ensure a smooth transition and effective operation of your new setup.
Recommended Products

INTELLIGENT MONITORING AND PROTECTION: The Westaho salt pool system features an advanced intelligent control panel, displaying key information like salt levels, pool water temperature, total cell usage time, cell operating voltage, and current. This ensures you're always aware of your pool's health. It also includes low water temperature protection, automatically shutting down below 52°F to extend cell lifespan and care for your pool
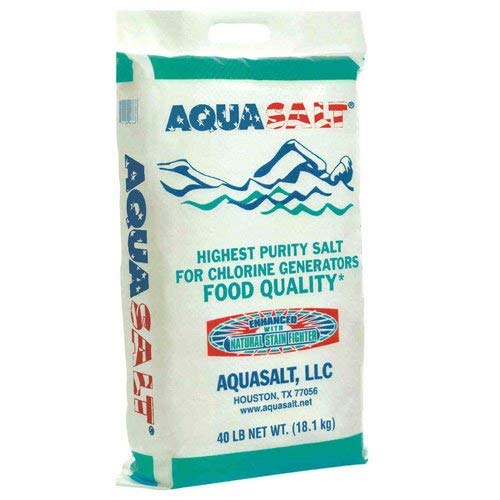
100% pure, certified USP-Grade salt produced specifically for swimming pool and spa chlorine generators

Effortlessly Sanitized Your Swimming Pool - Our salt water generator will eliminate the need to physically add chlorine to your pool's water. Just turn on the system & the system will do all the work for you whether you're at home or away.
Salt Chlorinator
- Salt Chlorinator Unit: Choose a unit appropriate for your pool size, as they convert salt into chlorine. Brands like Hayward or Pentair offer reliable options.
- Sodium Chloride Salt: Use pool-grade salt, typically around 99% purity. You’ll need 300 to 500 pounds of salt for an average-sized pool depending on its volume. Verify your pool’s specific requirements for accurate measurement.
- Screwdriver Set: Necessary for attaching the chlorinator and connecting electrical components.
- PVC Pipe Cutter or Saw: Helps in cutting pipes for installation. Ensure you have the right size for your existing plumbing.
- Teflon Tape: Use this for sealing threaded connections to prevent leaks.
- Water Test Kit: A kit ensures proper salinity and chlorine levels post-installation. Test strips are a quick, easy option.
Having these materials on hand sets the stage for successfully transforming your pool into a saltwater oasis.
Step-By-Step Guide
Switching your pool to a saltwater system requires careful steps. Follow this guide to simplify the process.
Recommended Products
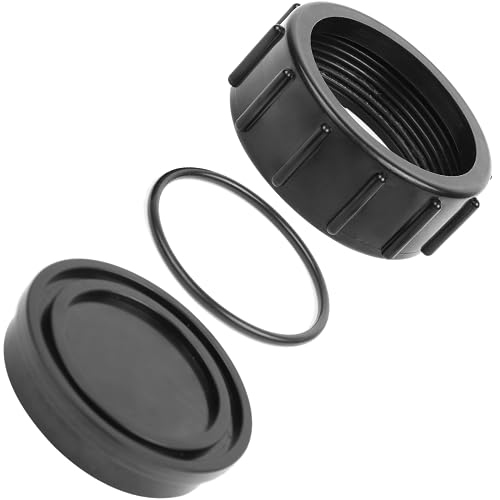
Need to clean the calcium deposits on the internal turbo cell plates? You are checking the right product. AR-PRO offers the perfect acid washing kit replacement (520670) for all Pentair salt chlorinator such as IC60, IC40, IC20, IC15 for less cost from the OEM yet is made of premium, heavy duty plastic, improving the parts lifespan by at least 50%.

Fits all Hayward Goldline turbo cells, all Pentair InterlliChlor salt chlorinator cells, other brands of chlorinator cells and aftermarket cells

Compatibility: Perfect replacement for Pentair Intellichlor Salt Chlorinators' acid washing kit (520670/523103). Compatible with Pentair Intellichlor Salt Chlorinator Models (IC60, IC40, IC20, IC15)
Preparing Your Pool
- Clean your pool thoroughly. Remove debris, leaves, and dirt using a skimmer or vacuum. This ensures that the conversion works effectively.
- Ensure your current filtration system is in good condition. Replace any worn-out filters or parts to maximize performance.
- Check the water level in your pool. It should be at the appropriate height for efficient filtration, typically halfway up the skimmer.
Installing The Salt Chlorinator
- Locate a suitable position for the salt chlorinator. Choose an area near the pump and filter system.
- Follow the manufacturer’s instructions to connect the chlorinator. This usually involves cutting the PVC pipes and using a PVC pipe cutter.
- Use Teflon tape on all threads to ensure there are no leaks.
- Secure all connections tightly before turning on the system for the first time.
- Test the water with your kit after installation. Focus on salinity, pH, and chlorine levels.
- Adjust the pH level to between 7.2 and 7.8. This range keeps the water comfortable for swimmers.
- Add sodium chloride salt gradually. Aim for about 3,000 to 4,000 ppm (parts per million), depending on your chlorinator’s specifications.
- Allow the salt to dissolve and circulate for at least 24 hours before re-testing. This ensures proper mixing.
Maintenance Tips
Maintaining a saltwater pool ensures optimal water quality and longevity of the system. Keep your pool clean and balanced for the best swimming experience.
Recommended Products
Wide Usage PH Meter : Hofun ph meter is an essential tool to improve your life quality. This digital ph tester can be applied in the following applications,drinking water quality test, swimming pools quality monitor, PH balance measurement in RO/DI system, aquarium, spa, hot tub or hydroponics.

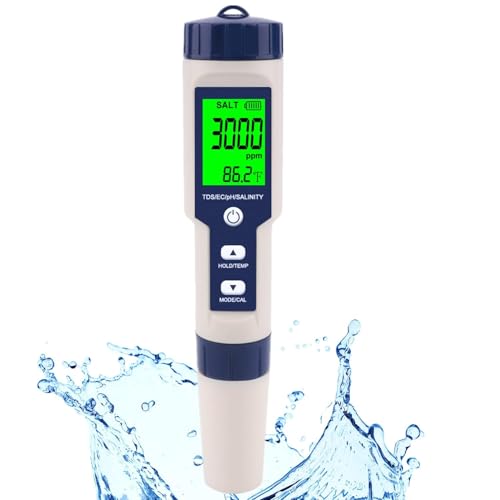
Salt Pool Test Strips: Meet the most comprehensive test strips for saltwater system. Combine sodium chlorine(salt) and regular parameters in one strip. Easily test total hardness, free chlorine, bromine, total chlorine, cyanuric acid, total alkalinity, pH and salt level in just one dip.

Taylor Technologies K-1766 Salt Water Kit is for use with salt water chlorine generators
Regular Monitoring
Monitor your pool’s salinity and chemistry frequently. Check the salinity level every 4-6 weeks using a reliable test kit. Aim for a salinity level between 2700-3400 ppm (parts per million). Regularly test the pH, alkalinity, and chlorine levels as well. Ideal pH levels fall between 7.2-7.8. Balanced water chemistry prevents corrosion and scale buildup.
Consider keeping a log of these readings for easy reference. If levels fluctuate, make necessary adjustments promptly to maintain water clarity and comfort.
Seasonal Care
Prepare your pool for seasonal changes by adjusting maintenance practices. During colder months, consider reducing chlorination and monitoring salinity every month. Maintain proper water levels and periodically check for debris accumulation.
For warmer seasons, increase filtration and chlorination as usage typically rises. Clean the salt cell every 3-4 months to prevent scaling and ensure efficient operation. Always adjust your maintenance routine as needed based on temperature changes and swimmer activity.
By following these maintenance tips, you’ll enjoy a clean and inviting saltwater pool year-round.
Conclusion
Switching to a saltwater pool can truly enhance your swimming experience while making maintenance easier. By keeping an eye on your water chemistry and following the tips outlined, you’ll enjoy a clean and inviting pool all year long.
Don’t forget to adjust your maintenance routine with the seasons to keep everything balanced. With a little effort and attention, you’ll reap the benefits of a saltwater system for years to come. Enjoy your refreshing swims and the peace of mind that comes with a well-maintained saltwater pool!
Frequently Asked Questions
What are the benefits of switching to a saltwater pool system?
Switching to a saltwater pool system simplifies maintenance, enhances the swimming experience, and offers health benefits like lower chlorine levels. Additionally, it provides long-term cost savings compared to traditional chlorine systems.
What materials do I need to convert my pool to a saltwater system?
To convert your pool to a saltwater system, you’ll need a saltwater chlorine generator, salt, and a test kit for monitoring water chemistry. Additional equipment may include pumps, filters, and maintenance tools specific to your pool type.
How do I maintain my saltwater pool?
To maintain your saltwater pool, regularly check salinity, pH, alkalinity, and chlorine levels. Keep salinity between 2700-3400 ppm and pH between 7.2-7.8. Document your readings and adjust levels as needed throughout the year.
How often should I clean the salt cell in my pool?
Clean the salt cell every 3-4 months to prevent scaling and ensure efficient operation. Regular cleaning maintains optimal performance and extends the lifespan of your saltwater system.
How does seasonal change affect saltwater pool maintenance?
In colder months, reduce chlorination and monitor salinity monthly. In warmer seasons, increase filtration and chlorination. Adjust your maintenance routine based on temperature and usage to keep your pool in top condition.